Been in a very Patriotic mood lately. Even got flags painted on my fingernails today! :)
Today I have pics for you of a couple more goodies I made for the 4th of July and a little bit of decorating in my house.
Here is another twist on the stand up box. I like the crispness of this one!
For a stand up box you only need a paper cutter, a scoring tool and adhesive!
Used the Stampin' Up Perfect Pennants Bigz die for white scallop, the 1 3/4" scallop circle punch, 3/4" circle punch and a star punch purchased at Joannes I finished the box off.
Used the Petite Pocket Bigz die for the white envelope, stamped it with Cherry Cobbler and Night of Navy stars, then textured the stamped section with the Square lattice folder. Wrapped Cherry Cobbler bakers twine around the pocket a few times, and added a tag and shimmer star, filled with Twizzlers and some star wire purchased from the Dollar Tree. Simple, cute and sweet!
Here is our mantle, nothing fancy. Just a banner I made last year, some wooden stars decoupaged with patriotic napkins, an empty Ghirardelli tin and a couple of framed flags I found at a garage sale or thrift store. (I must be getting old because I can't remember exactly where I found them!)
Lastly in a cabinet in the kitchen we have an apothecary jar filled with stars and striped wrapped taffy and Tootsie rolls. Add an oak frame that I painted white and put a cute cupcake print in and added a little star pennant.
I hope I have inspired you to if nothing else, get a fingernail or toenail painted with a flag for the 4th of July! :)
Have a very Happy and Fun 4th!
Be inspired to create!
Tina
Thursday, June 27, 2013
Monday, June 17, 2013
More Patriotifc Boxes for 4th of July!
I am still in full on 4th of July mode! My first batch of banners and favors are all gone! So I am on to making more. This stand up box is 4" high and holds a handful of candy nicely.
Used my Stampin' Up Apothecary accents framelits for the red paper with stars, and then cut the white circle with the Perfect Pennants Bigz die cut. Topped that off with a 1" wide rosette, Vintage Faceted designer button and cherry cobbler bakers twine. There you have another cute little favor that would look adorable on a plate at the 4th of July BBQ!
I still have red white and blue paper left! More to come! :)
Have a great week!
Be inspired to create!
Tina
Labels:
4th of July,
Stampin Up,
Stampin up framelits
Tuesday, June 11, 2013
Patriotic Party Favors and Banners! 4th of July will be here soon!
Yes this year is flying by!!!! Memorial Day has come and gone and before you know it the 4th of July will be upon us. That being said, I have started making some patriotic party favors and banners.
Let's start with the banners. Using the pennant die cut, scallop punch, circle punch and star punch (all punches except star are Stampin' Up) The centerpiece of this banner is a rosette made with 2 - 12" X 1" strips of paper scored at every 1/2". Adhered the 2 pieces together, held into a tight circle and put hot glue in the middle and held it until it set. Finished off the centerpiee with a vintage button and cherry cobbler bakers twine.
Using the petal cone die, I put together these patriotic cones. These will hold either snack size Kit Kat bars or Twizzlers, whichever I find first :)
Made these cute boxes out of 10" X 5 1/2" pieces of heavy cardstock. Used punches and the pennant die cut to make the embellishments. I found Tootsie Rolls and saltwater taffy in star spangled wrap at Winco to put inside the boxes.
If I whip up some potato salad and barbeque some burgers and I think we have a party!!!! :)
I hope you are having a great week!
Be inspired to create!
Tina
Monday, June 3, 2013
Mr & Mrs Wedding Card
A very good friend of my daughters is getting married next weekend. My daughter asked me to make a card. I was honored to fulfill her request.
The wedding colors are red white and black. I came up with this card for the bride and groom.
Started with a 5" X 10" piece of white card stock , then cut a black piece of card stock with the square scallop. Embossed the black scallop square with dot embossing folder. Stamped the Mr & Mrs towels on white paper, trimmed and rounded the edges. Stamped the Mr & Mrs towels again with black ink and cut just the Mr & Mrs out with a circle punch. Finished it off by adding the tiny flowers, tiny pearl accents and a red ribbon.
Then I realized that I needed a special envelope for this 5 X 5 card. After wasting lots of paper I finally figured it out!! I can now make envelopes for any size card!
I am working on easy directions with pictures for tutorial challenged people like me!
Come back soon for that!
Have a great week!
Be inspired to create!
Tina
Labels:
framelits,
Stampin Up,
Stampin up punches,
wedding cards
Sunday, May 26, 2013
Graduation Decorations on a Dime! :)
My stepson Zachary graduated from high school last week. (my son is Zachary too) Crazy! :)
I put myself in charge of decorations. :) As you can see the school colors are gold and purple.
So loaded with my handy Stampin' Up tools, card stock, some $ Tree items and recycled mason jars off I went!
Lets start with the mason jars. Used framelits and a congratulations stamp to make the main pick in the jar. Added a couple flags, made a belly band, filled the jar with purple shreds and finished with a layered scallop circle and a graduation cap. (the graduation cap was found at Michael's)
Then with lots of purple and yellow card stock and my pennant framelit made banners to go all around the patio.
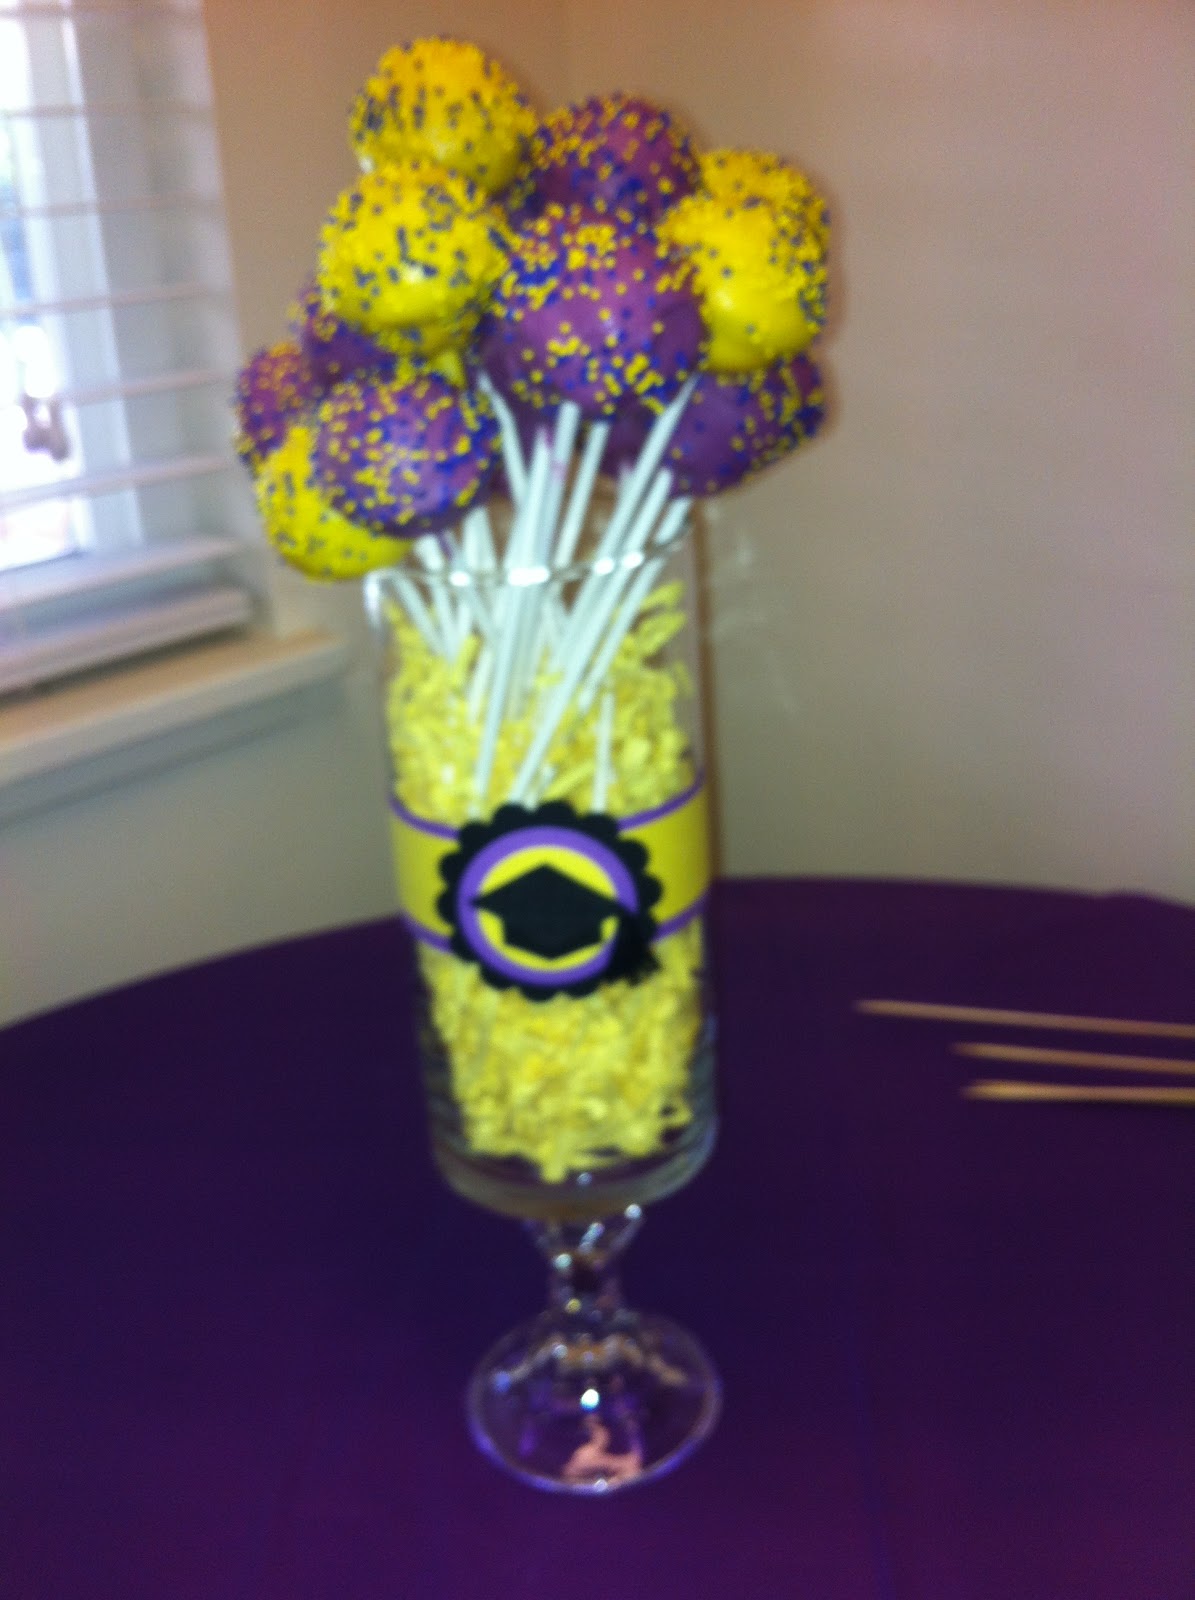
Then we have the pedestal vase used to hold cake pops. I am certain I got this idea on Pinterest at some point. This is a $ Tree vase, adhered to a $ Tree candlestick with clear silicone. Easy peasy!
The yellow shreds were also purchased at the $ Tree.
Purchased a new toy last week! A babycakes cake pop maker. Did a trial run Wednesday so I was prepared to make the purple and yellow pops you see here. These do take a little time, but well worth the result. My advice to you if you decide to try cake pops: check out some you tube tutorials for tips before you give it a try.
The cake was purchased at Costco, but we personalized it with some photo pics layered with framelit shapes all hot glued to a wooden skewer. I really liked the way this came out, and am sure we will do this again on future cakes!
I am very proud of my stepson! I wish him all the success in his future!
Do you have lots of grad parties this year?
If so, hope some of these ideas helped!
Enjoy the rest of your weekend!
Be inspired to create!
Tina
Labels:
framelits,
graduation cards,
Stampin Up
Sunday, May 19, 2013
Graduation Time already!
Yes graduation time is upon us!!! Last year we had my daughters college and my niece's high school graduation bash!
This year my stepson Zachary is graduating from high school.
I made him this card using the school colors of purple, gold and black.
Hard to see with the black on black paper, but the 2nd layer of black paper is embossed with the square lattice embossing folder. Layered over that are purple, black and then yellow pieces of card stock cut with the Framelits labels collection. Dimensionals were used under the black embossed paper and the congratulations to make the card 3 dimensional. The congratulations was stamped on whisper white paper and cut with the bitty banner framelits.
Big week ahead of us! Graduation on Thursday and the party on Saturday!
I will take pictures of the party directions to inspire you for your next party!!!
I hope you have had a lovely weekend! Have a great week too!
Be inspired to create!
Tina
Saturday, May 11, 2013
Mother's Day and Dad's Birthday on the same day!
Tomorrow is not only Mother's Day but my fathers 71st birthday too! Needed to make a couple of cards!
Started with this cute vintage vibe card for Mom. Used the Apothecary Accents framelits to cut the shape for the sentiment. Used the Morning Post Alphabet stamp set for MOM. I finished it off with a flower made with the Boho flower punch, and topped that off with a Dahlia. Added a little bling on the sides with Rhinestone jewels. My mom is truly beautiful inside and out, just had to reiterate that with the card. :)
Then on to Dad's card. Started with a photo of him at I believe 4 years old. I embossed the card stock with the stripes folder, used the ovals collection framelits for the photo and background paper.
Used the Itty Bitty Banners stamp set and Bitty Banner framelits for the Happy Birthday and finished it off with Early Espresso bakers twine. I love using photos as elements on my cards. I really think it makes the card special. I am sure my dad will like this one!
We are celebrating Mom and Dad tomorrow with brunch at a new restaurant that comes highly recommended. I sure hope it is good!
I hope you have a Wonderful Mother's Day!
If you are a Mom, Grandma, Aunt, Caregiver or any woman who cares for others, I hope you
are showered with love and affection tomorrow!
If you are not, then I hope you shower that special woman or women in your life with love and affection tomorrow!
Mom - I love you to infinity and beyond!!!!
(and as always if you want more information on these projects or Stampin' Up please contact me)
Labels:
birthday cards,
framelits,
Mothers day
Subscribe to:
Posts (Atom)
.jpg)


.jpg)
.jpg)
.jpg)

.jpg)
.jpg)
